Bot Settings Explained
The Settings page lets you configure how your bot behaves, connects to other tools, and communicates with visitors. You'll find…
The Settings page lets you configure how your bot behaves, connects to other tools, and communicates with visitors. You’ll find it in the left sidebar under Bot Tools → Settings.
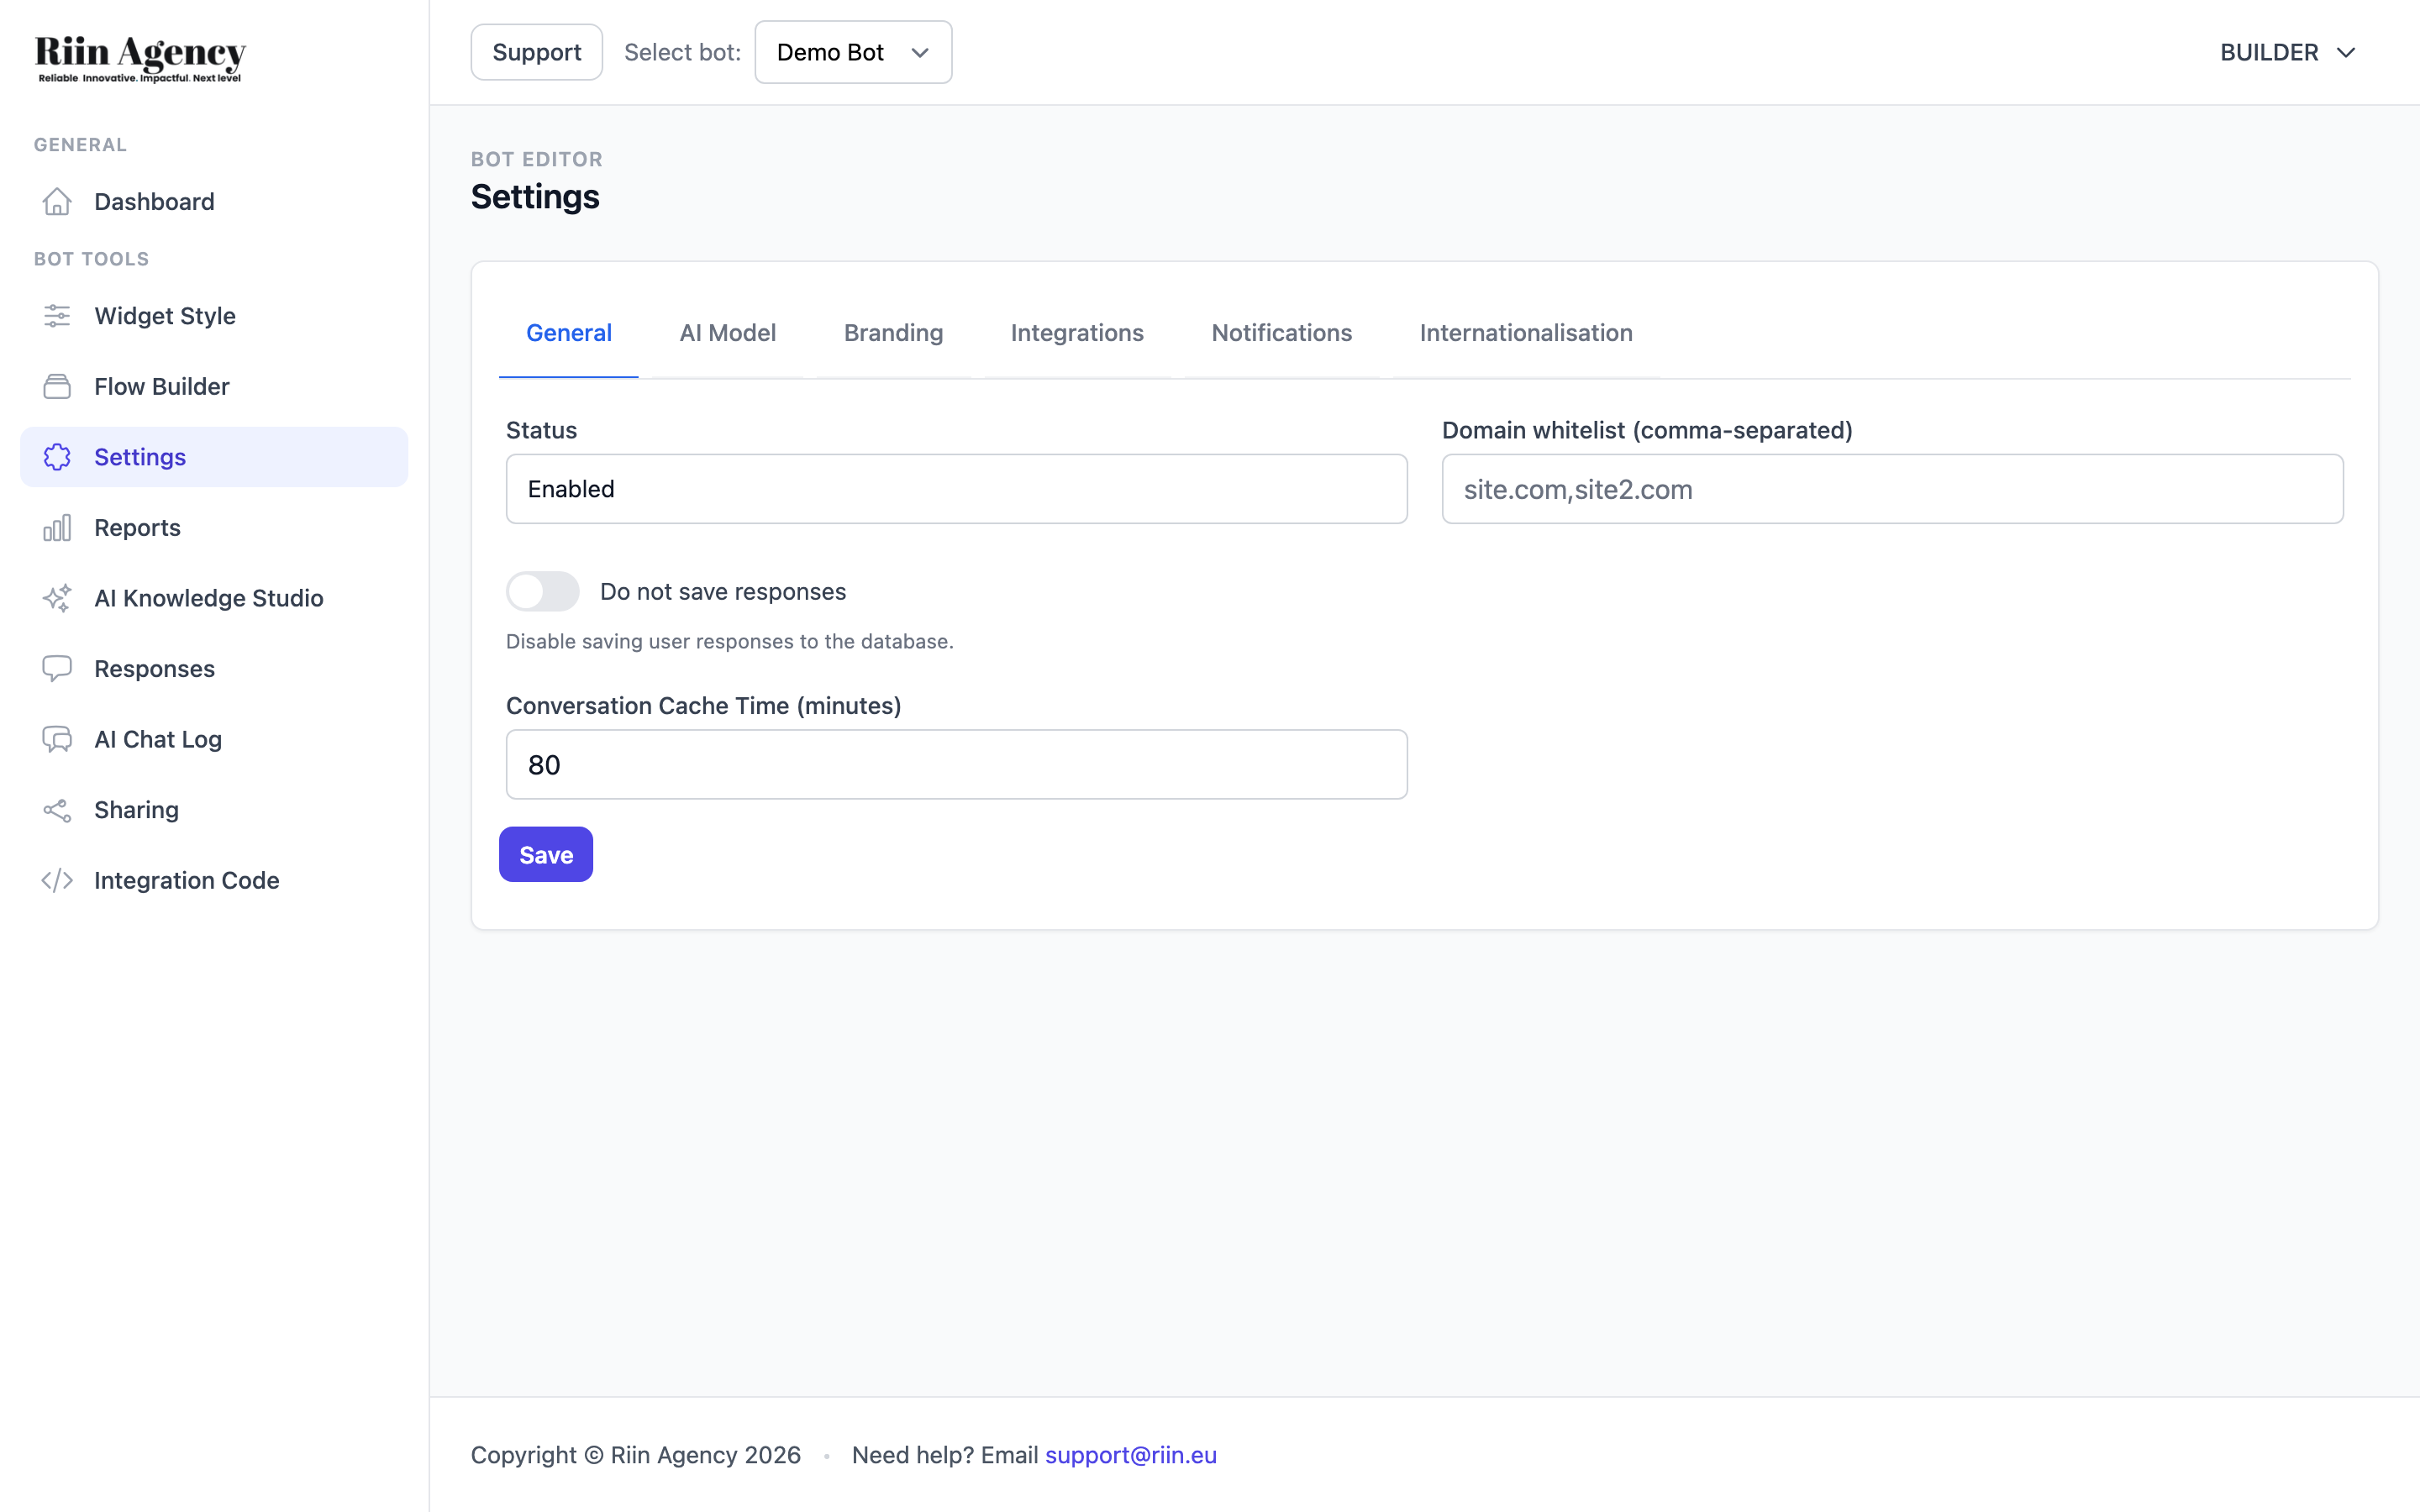
The Settings page is organized into six tabs:
General
The General tab contains your bot’s core operational settings:
- Status – An Enabled/Disabled dropdown that controls whether your bot is active. Set to Enabled to make your bot live on your website.
- Domain whitelist – Enter the domains where your bot is allowed to appear, separated by commas. This ensures your bot only runs on your approved websites.
- Do not save responses – A toggle that, when enabled, prevents the bot from storing visitor responses. Useful for privacy-sensitive use cases.
- Conversation Cache Time – Set how long (in minutes) a conversation is cached. If a visitor returns within this time, they continue from where they left off instead of starting over.
AI Model
The AI Model tab lets you fine-tune how your bot’s AI responds:
- Current model – Shows which AI model your bot is using.
- Reasoning Effort – Controls how much processing the AI puts into generating answers. Lower settings mean faster but simpler responses.
- Verbosity – Controls how detailed the AI’s responses are. Set to low for short, concise answers or higher for more detailed explanations.
Branding
The Branding tab has a single setting:
- Show branding – A toggle that controls whether “Powered by” branding appears on your chat widget. Premium plan users can turn this off for a fully white-labeled experience.
Integrations
The Integrations tab is where you connect your bot to external tools and services:
- Google App Script URL and Google Sheet ID – Connect your bot to Google Sheets to automatically log conversations and leads. A “Get AppScript” link helps you set up the Google Apps Script.
- Zapier Webhook URL – Connect to Zapier to trigger automated workflows when your bot collects data.
- Make Webhook URL – Connect to Make (formerly Integromat) for advanced automation scenarios.
- Mailchimp API key – Connect to Mailchimp to automatically add leads to your email lists.
Note: Integrations require using the Flow Builder (not Standalone AI Chat mode). Your bot sends conversation data to enabled integrations after a set timeout — configure this timer in your flow’s AI Assistant block settings. Start with 5 minutes; most conversations don’t last longer.
Notifications
The Notifications tab controls how you get alerted about bot activity:
- Email for notifications – The email address where you receive notifications about new conversations or leads.
- Address notifications as – The name used in notification email greetings (e.g., “Hi John!”). Defaults to your account name if left empty.
- Show notification badge – Toggle for notification badges in the platform interface.
- Notification sound – Toggle for sound alerts on new notifications.
Internationalisation
The Internationalisation tab lets you customize the default widget text for different languages. This is useful if your website visitors speak a language other than English:
- Chat placeholder – Change the default “Write a reply” text in the chat input field.
- Choice placeholder – Change the default “Select answer” text for multiple choice options.
- Email validation – Customize the error message for invalid email addresses.
- Number validation – Customize the error message for non-numeric input.
- Text Direction (RTL Support) – Enable right-to-left text for languages like Arabic or Hebrew.
Remember to click the Save button at the bottom of each tab after making any changes.